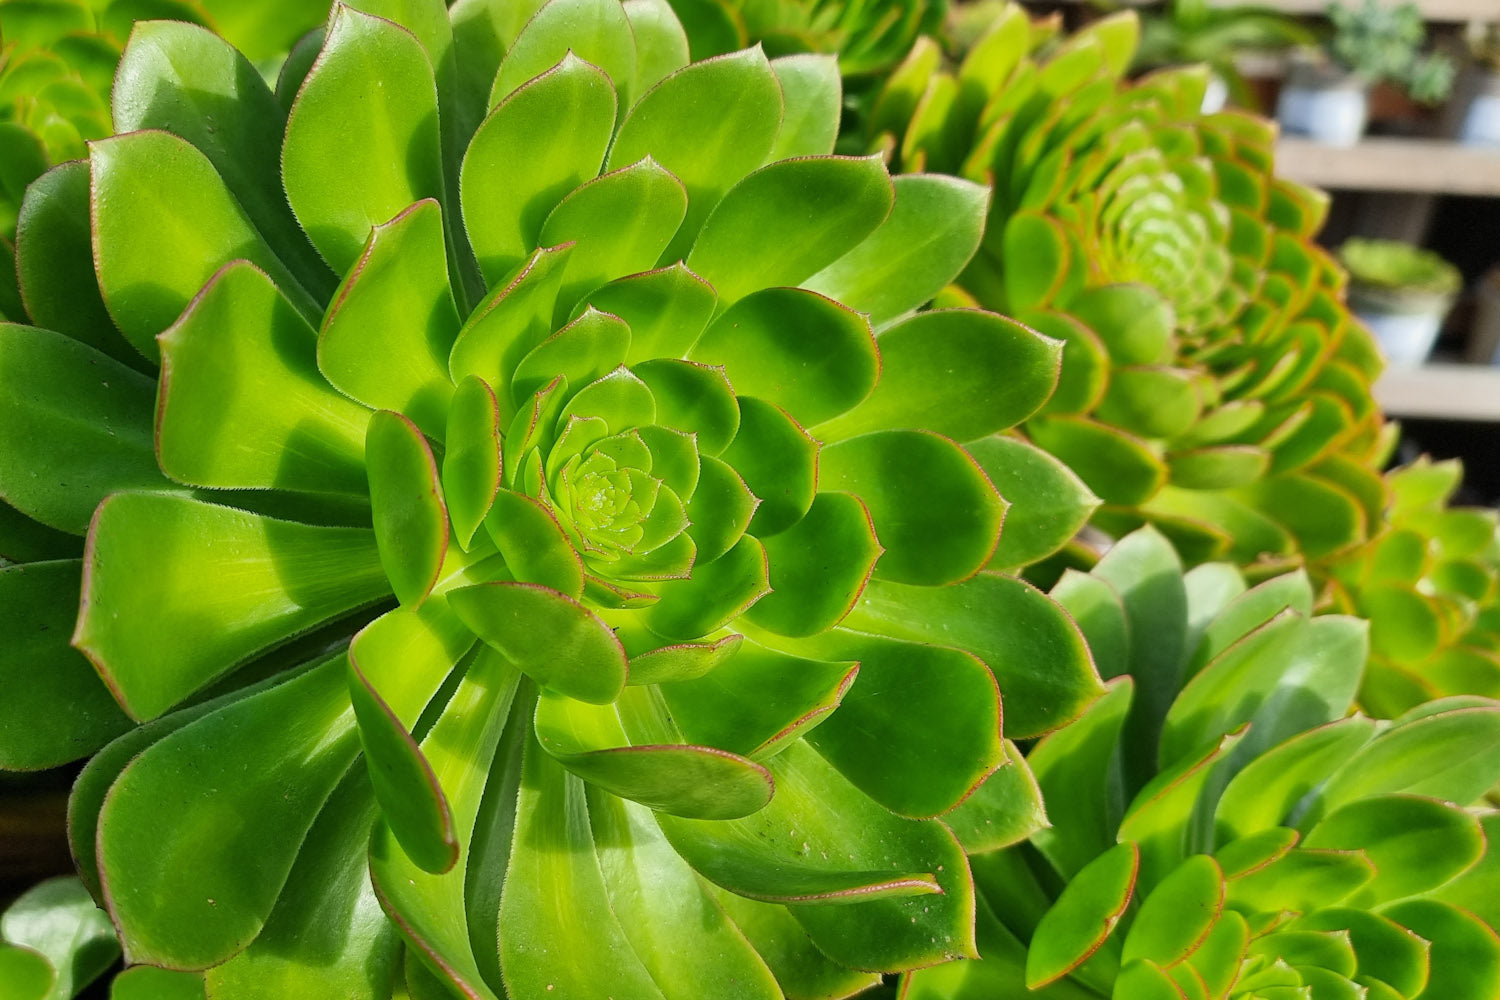
Aeonium Expert Spring Care Guide
Take time to explore this masterclass in spring care for Aeoniums, sharing invaluable tips from our extensive experience nurturing these unique plants through the changing seasons.
The vibrant days of colour-changing are upon us as winter transitions into spring, and the gentle return of warm winds breathes new life into our Aeoniums. In this article, we delve into what to expect during the spring season and provide valuable insights for both seasoned growers and newcomers to these stunning plants. From propagation to growing tips, we offer guidance to help you along your journey. We encourage you to take the time to read and would be immensely grateful for your experienced comments, which can help others cultivate these magnificent plants.
1. Colour Change
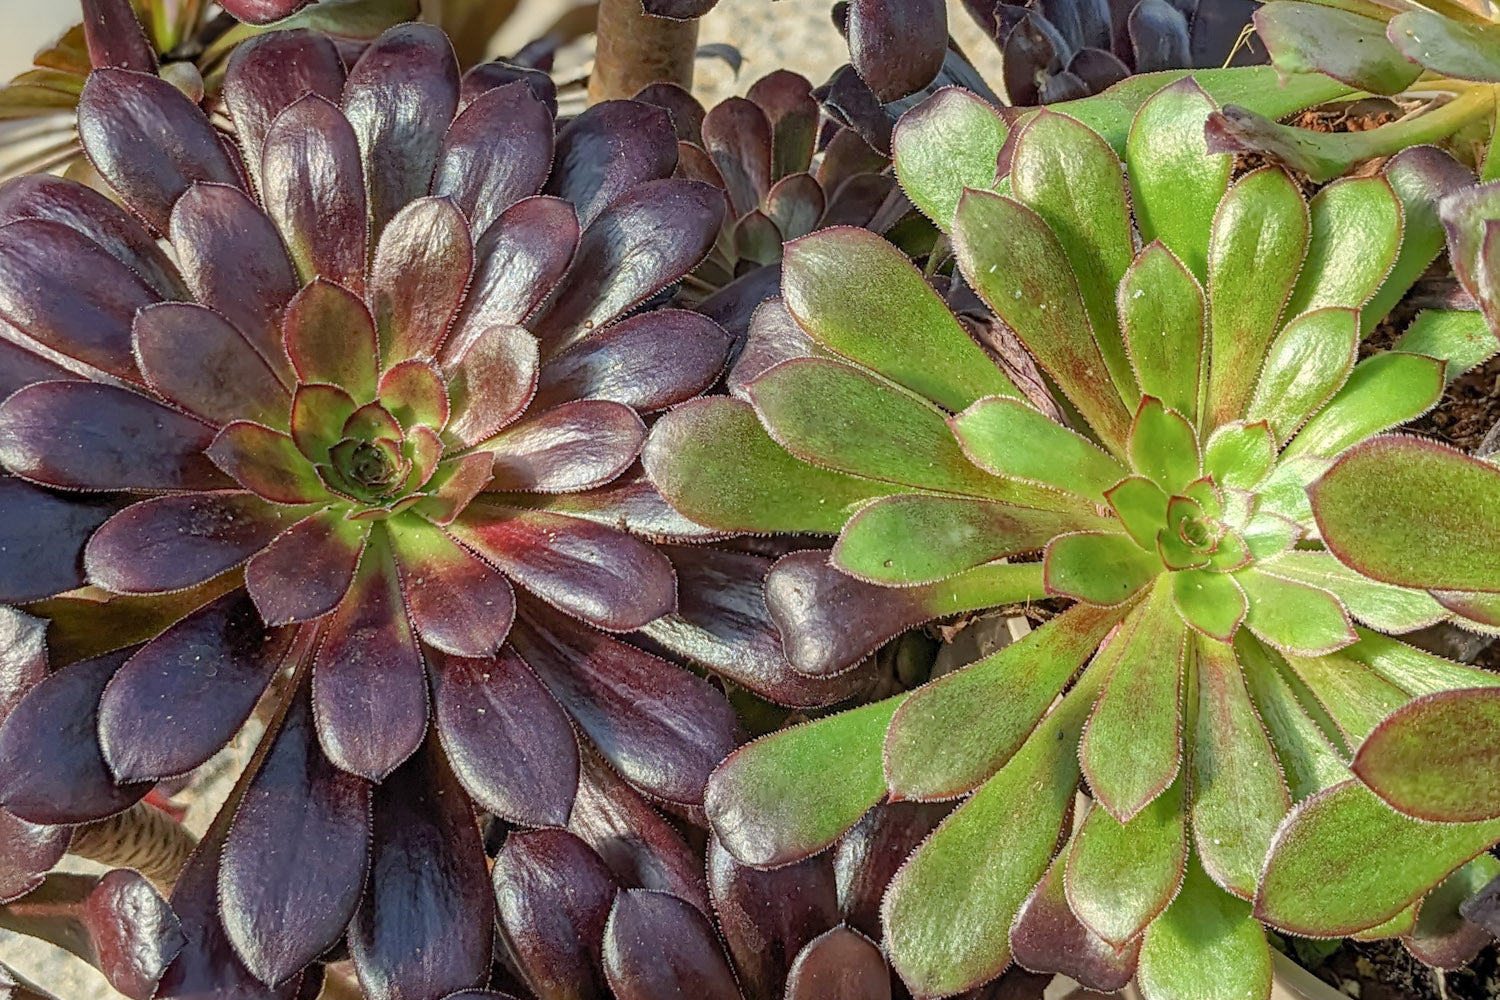
Spring is a thrilling time for Aeonium growers, as the cold, dark days of winter give way to the brighter, warmer days of spring. Not only does the weather improve, but you’ll also notice rapid changes in the health and colours of your Aeoniums. At the nursery, we observe these changes as early as mid-February.
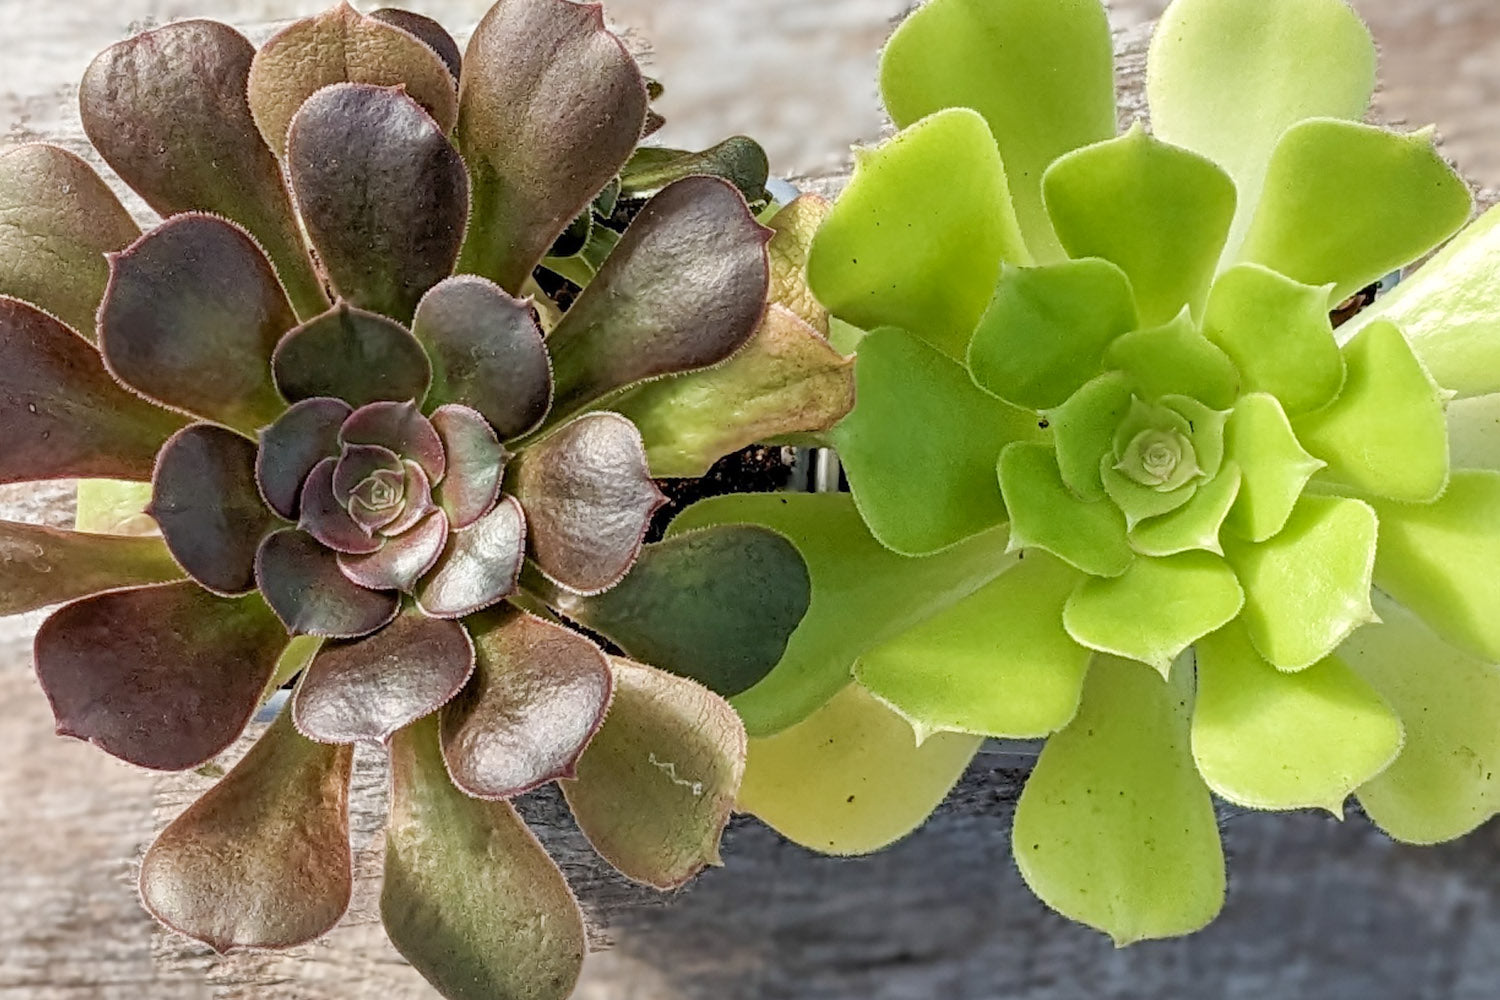
As soon as we get a full day of sun, the Aeoniums’ colours really begin to transform. A prime example is Aeonium ‘Blushing Beauty’, which shifts from lime green to an orangey-pink hue. Dark-leafed varieties like Aeonium 'Schwarzkopf' start the spring with a green rosette, but as light levels increase, they transition to their more commonly known almost black rosettes.
2. Coming out of Winter
Understanding how spring affects your Aeoniums is crucial for deciding what to do next, such as repotting, taking cuttings, feeding, or watering. Gone are the uncertain days; spring gives us confidence that our Aeoniums will respond positively to whatever we choose to do with them. The increased light levels that spring offers are what the Aeoniums have been craving all winter. The sun’s energy is a vital source of power for our plants, providing them with the energy they need to thrive. Whether we’re taking cuttings or simply potting them into larger containers, our plants will respond positively and deliver great results. Spring is undoubtedly the time of year to tackle all of these tasks.
3. Rescuing Aeoniums from Winter Darkness.
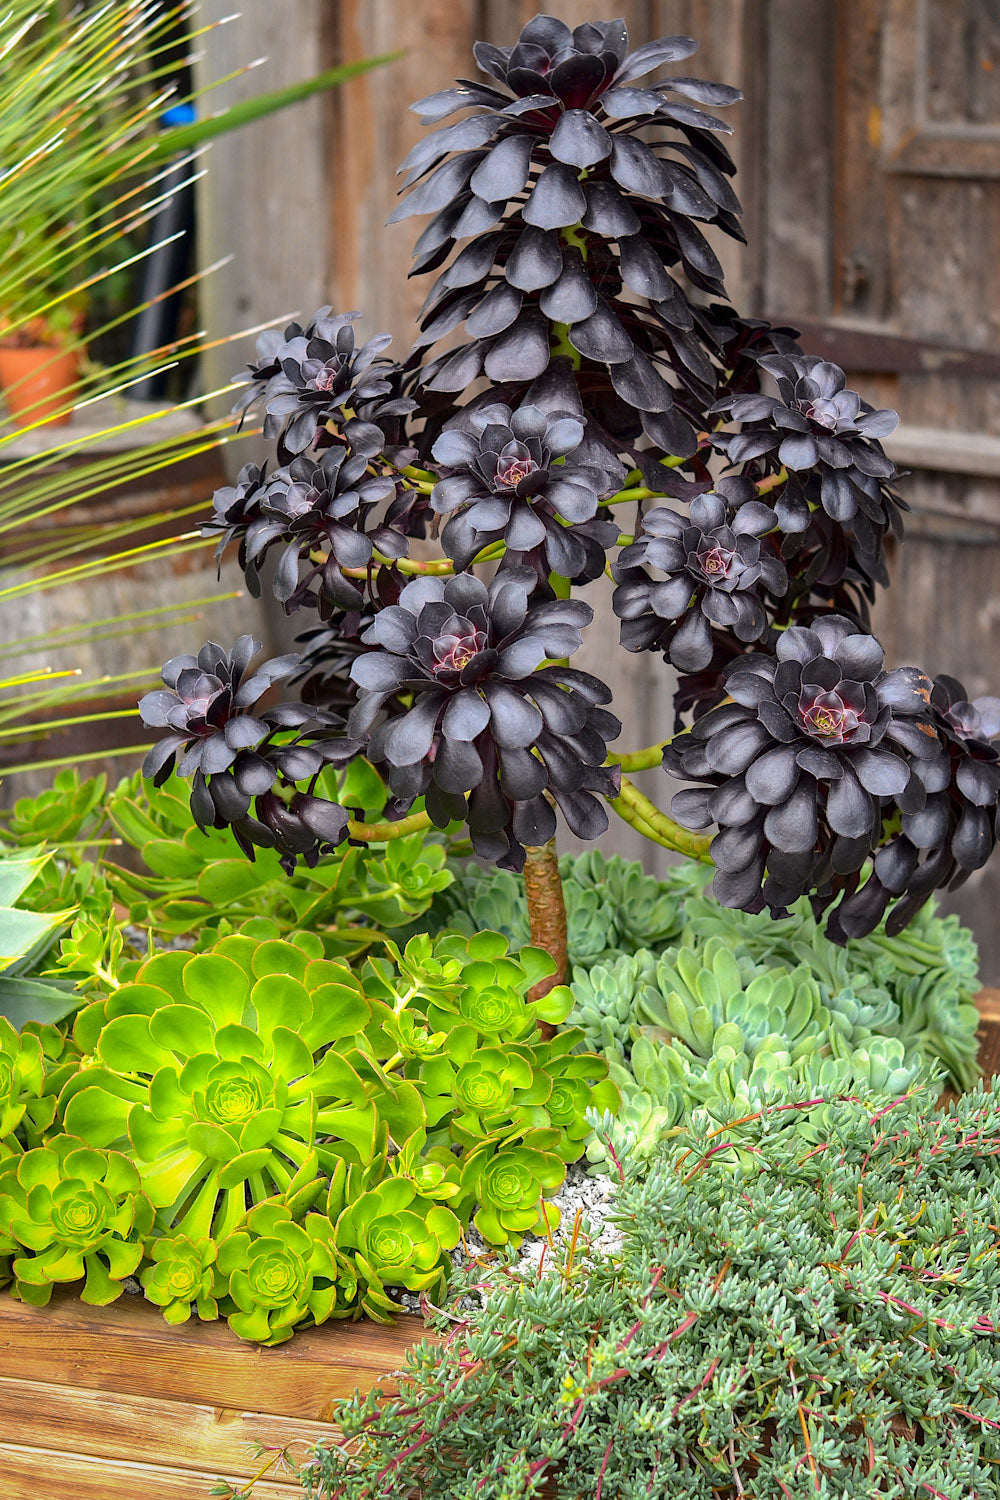
Aeoniums can suffer during the winter months due to several reasons, such as low light, overwatering, lack of airflow, or pest infestation. However, don’t give up hope; if there is life, there is more than a chance to recover and restore them to their former glory.
Spring offers the sun’s energy, which is the catalyst for an Aeonium’s return to its natural beauty. Using our tried and tested potting-on techniques will only encourage fresh, healthy plant growth.
4. Late Frosts
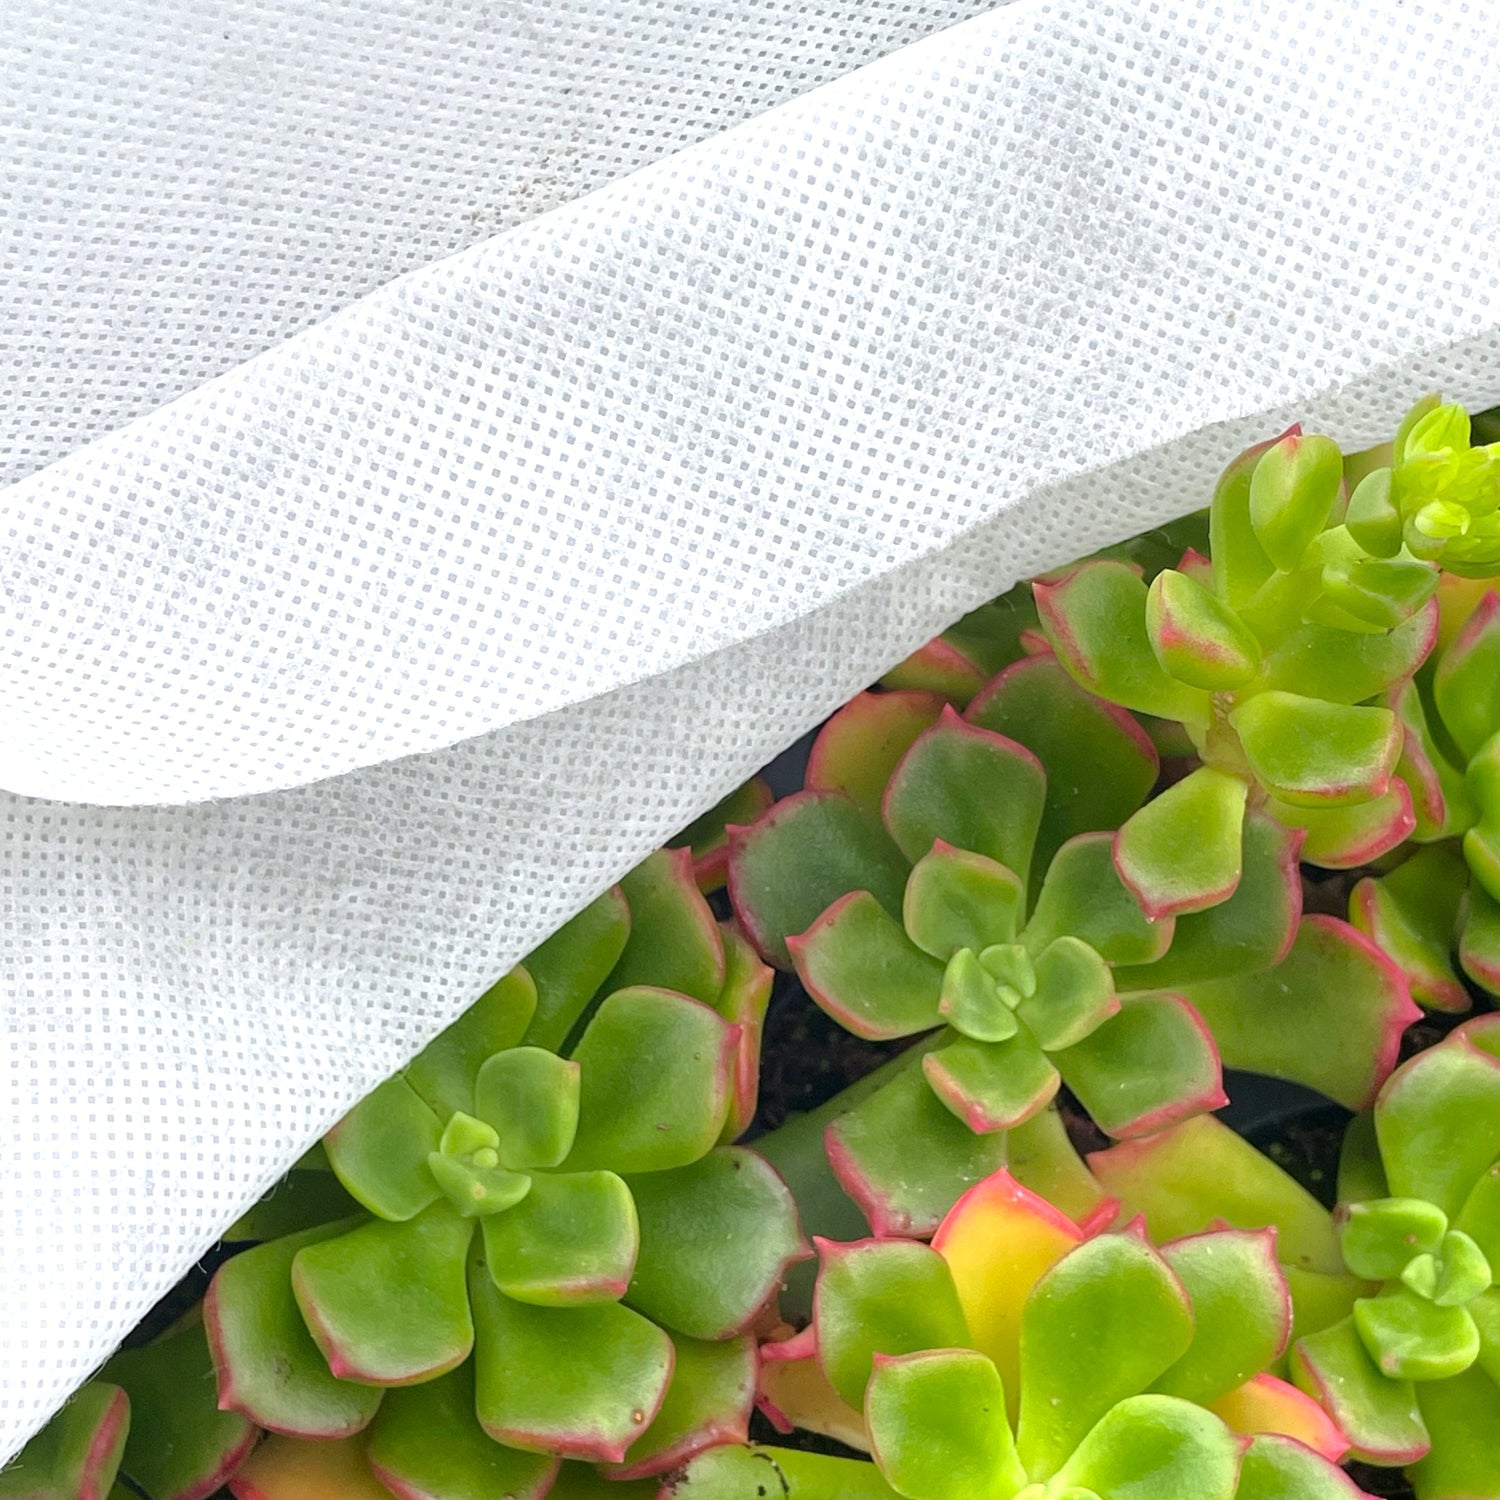
Spring may have arrived, but winter can still have astingin its tail. It’s crucial to keep an eye on the forecasts. There’s nothing worse than being caught out by a late frost that could potentially kill or damage your special Aeoniums. Depending on where you live, if you’re planting or moving your Aeoniums outdoors, it’s best to do so when the risk of frost has completely passed. This might be mid-April in the south of the UK, or well into May or even June the further north you go. If you do decide to move them outside early, fleece is always an option if the weather turns colder.
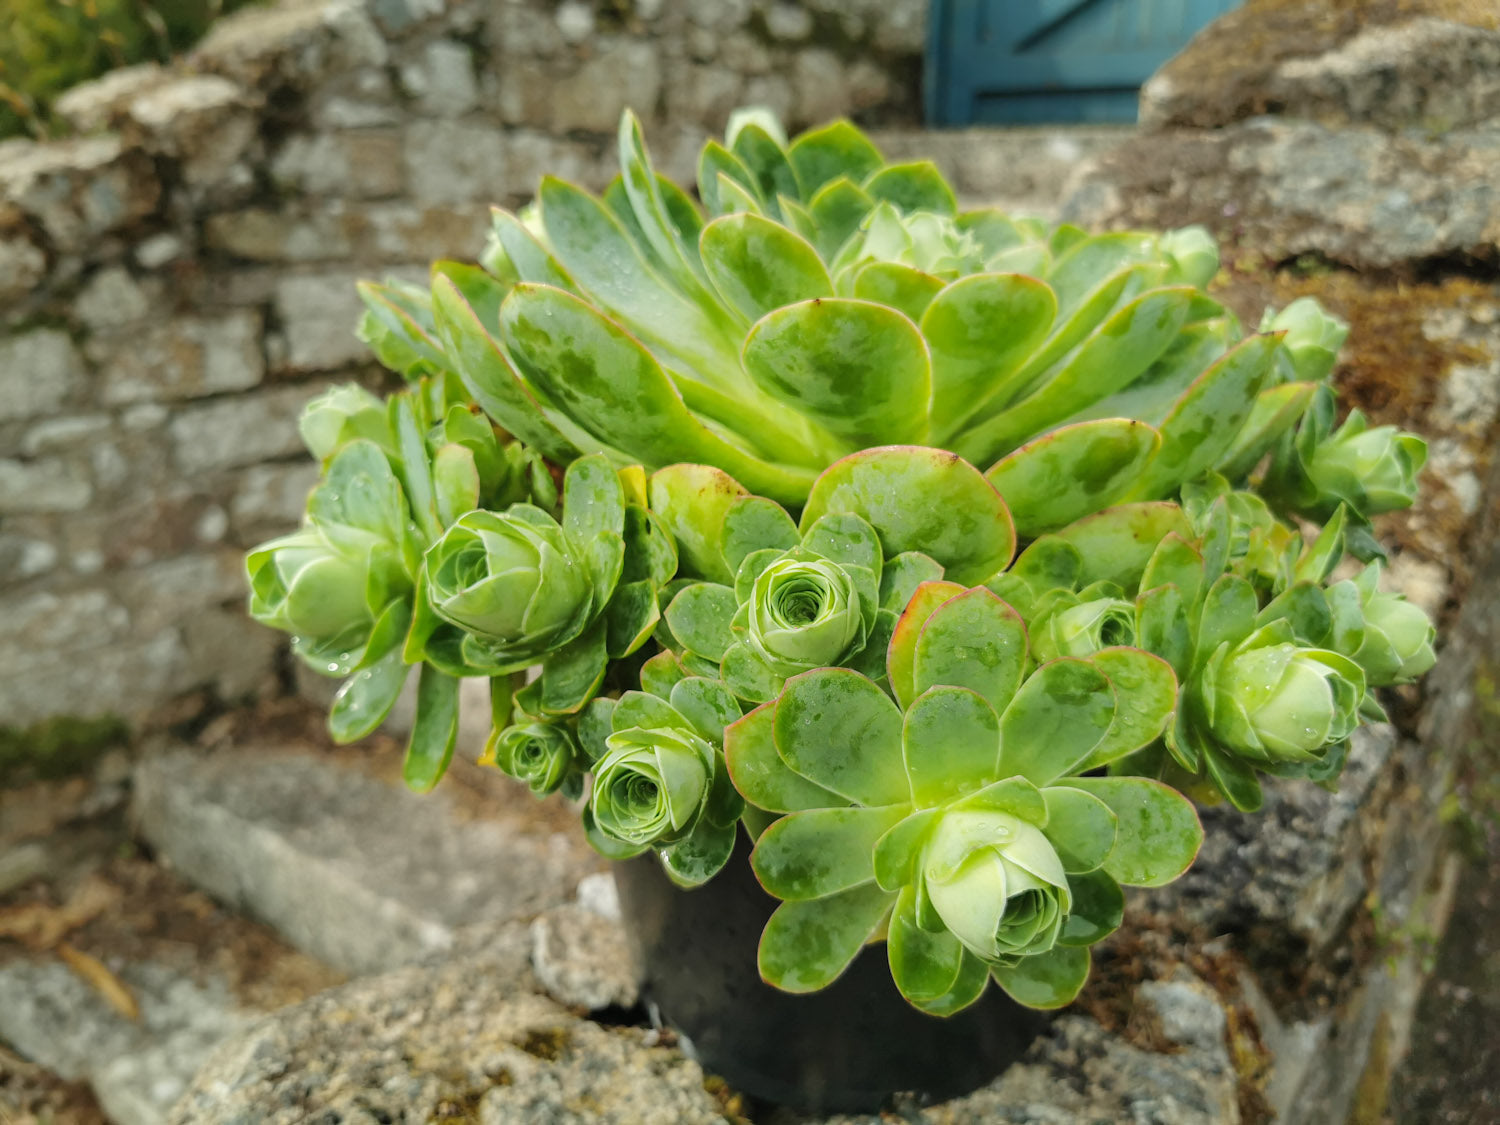
Aeonium aureum
5. Weather
In addition to cold spells, other weather events can also affect the appearance of your Aeoniums. Hailstones, for example, can leave marks or scars on the leaves, causing superficial damage that will eventually grow out but will affect the appearance for a short period.
Rain during the spring isn’t usually an issue; the plants will take what they need. As long as you have a good, free-draining soil mix, you shouldn’t expect any root rot.
With the likelihood of heatwaves increasing due to climate change, they can also be detrimental to the health of an Aeonium by disrupting its natural dormancy schedule. While summer heat naturally encourages dormancy in an Aeonium, an unnatural heatwave in spring can trigger early dormancy, confusing the plant during its growing season. To maintain your Aeonium’s health during any spring heatwave, consider moving it to a cooler part of the garden and avoid overwatering.
6. Sunburn
Sunburnt leaves are a common issue observed in Aeoniums, typically occurring when plants are abruptly moved from a shaded area to direct sunlight, especially during the intense spring sunshine. This rapid transition causes the leaves to blister, just like early spring sun can burn human skin. To mitigate this, gradually expose Aeoniums to increased sunlight over time. This can be achieved by carefully increasing their exposure to direct sunlight. During the peak hours of sunlight usually between 11am and 3pm, provide shade by positioning the plant near a wall or under the canopy of another plant to create a protective shadow, you could also cover them with a fleece to shade them. After 10 days your Aeonium should be acclimatized.
7. Potting On
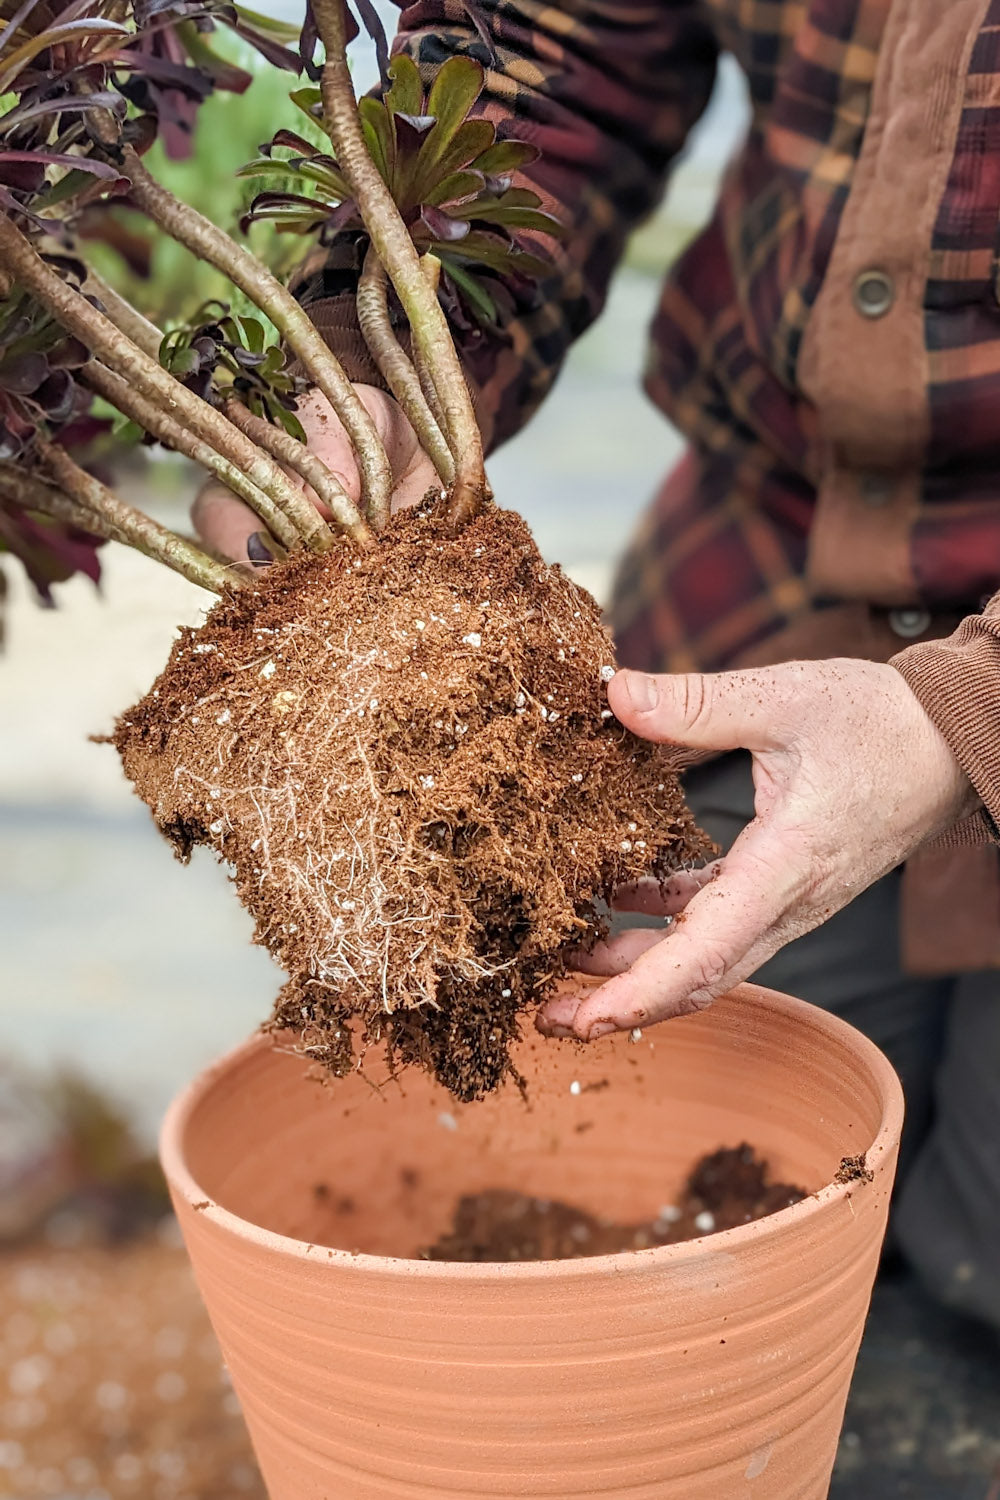
Spring is an ideal time to repot your Aeoniums. For best results, remove all the old soil to inspect the root system and eliminate any unwanted pests, such as vine weevil. Replace it with a fresh mix of compost, ideally a blend of 60-70% standard multi-purpose peat-free compost and 30-40% perlite or grit.
If the Aeonium hasn’t outgrown its pot, you can keep it in the same one. However, for a larger specimen, we recommend using at least a 4-litre pot. A good potting technique involves placing a small amount of compost at the bottom of the pot, then holding the Aeonium in one hand, suspending it in the desired position. If possible, bury the stem slightly deeper, as this adds stability and encourages new root growth, resulting in a faster-growing, stronger plant. Firm the soil around the roots, ensuring no air pockets, and lightly water so the soil is damp but not wet. It’s important to allow oxygen to reach the new roots for a quicker-growing, healthier root system.
During the spring, water your Aeoniums roughly twice a week, ensuring the soil doesn’t completely dry out, as the roots will still be young. Place your Aeoniums in a sunny spot with good airflow. If there’s a heatwave, move them into a shadier position, as Aeoniums will stop all root growth if forced into dormancy by hot weather.
After about 6 weeks, the roots should have developed and reached the side of the pot. At this stage, you can feed them if needed with a seaweed solution or chicken manure on the surface, which will naturally wash through the soil during waterings.
8. Propagation
There’s no better feeling than creating your own plants, and the beginning of spring offers the best opportunity to do this. Aeoniums can be propagated through various methods, including leaf and stem cuttings, or even from seeds. Each of these techniques has its own advantages, but the quickest and easiest way is definitely through stem cuttings.
Step 1
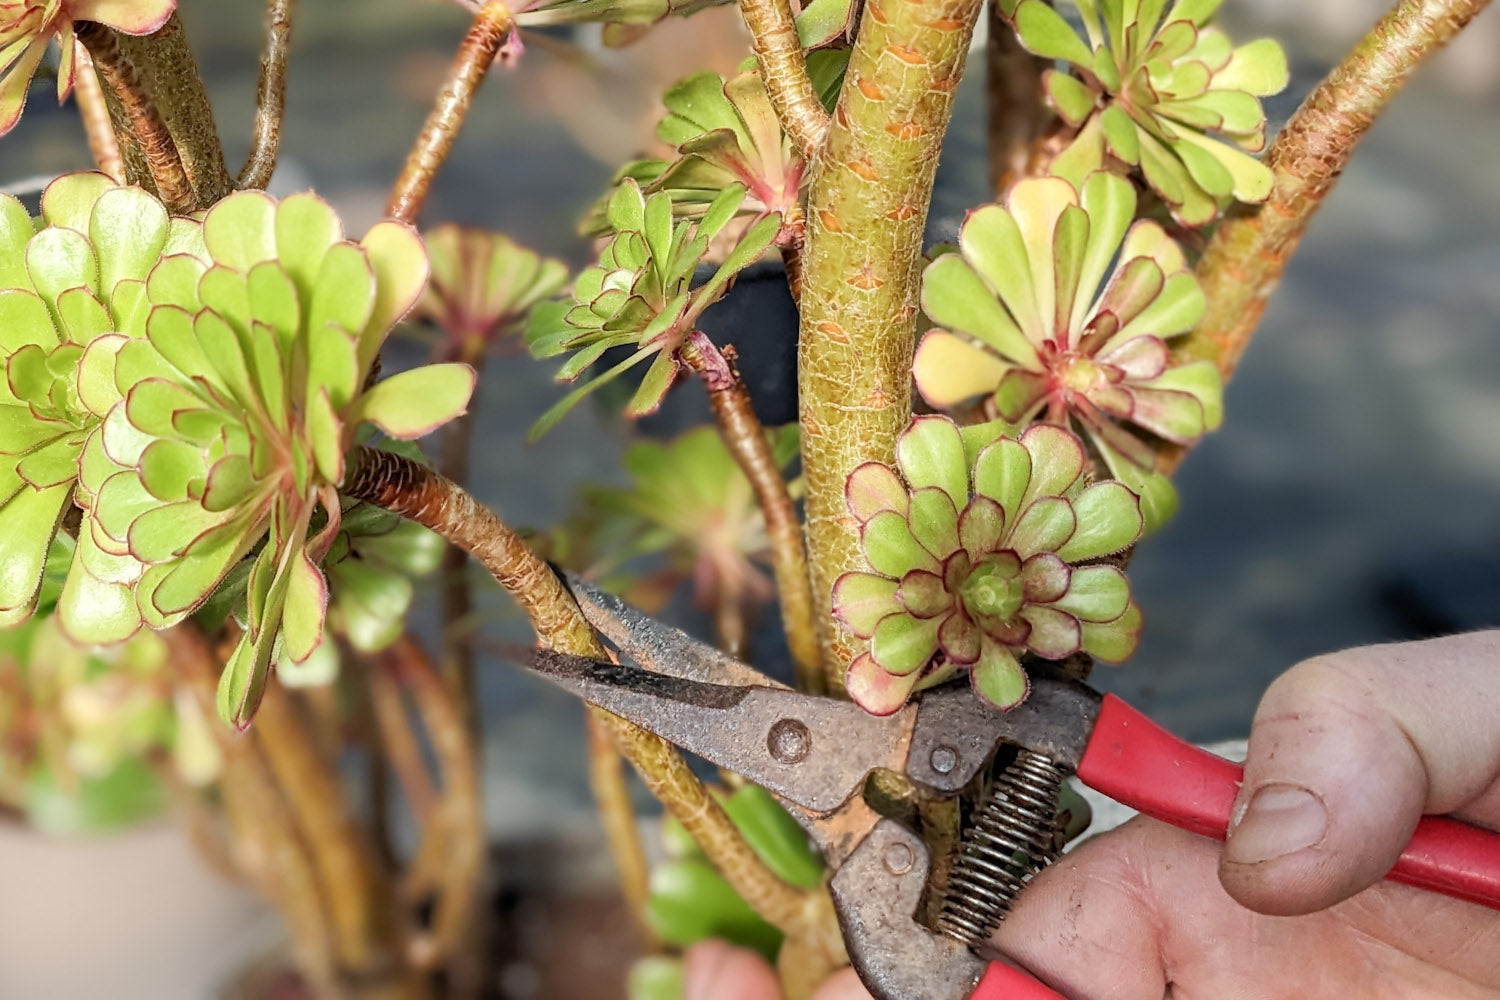
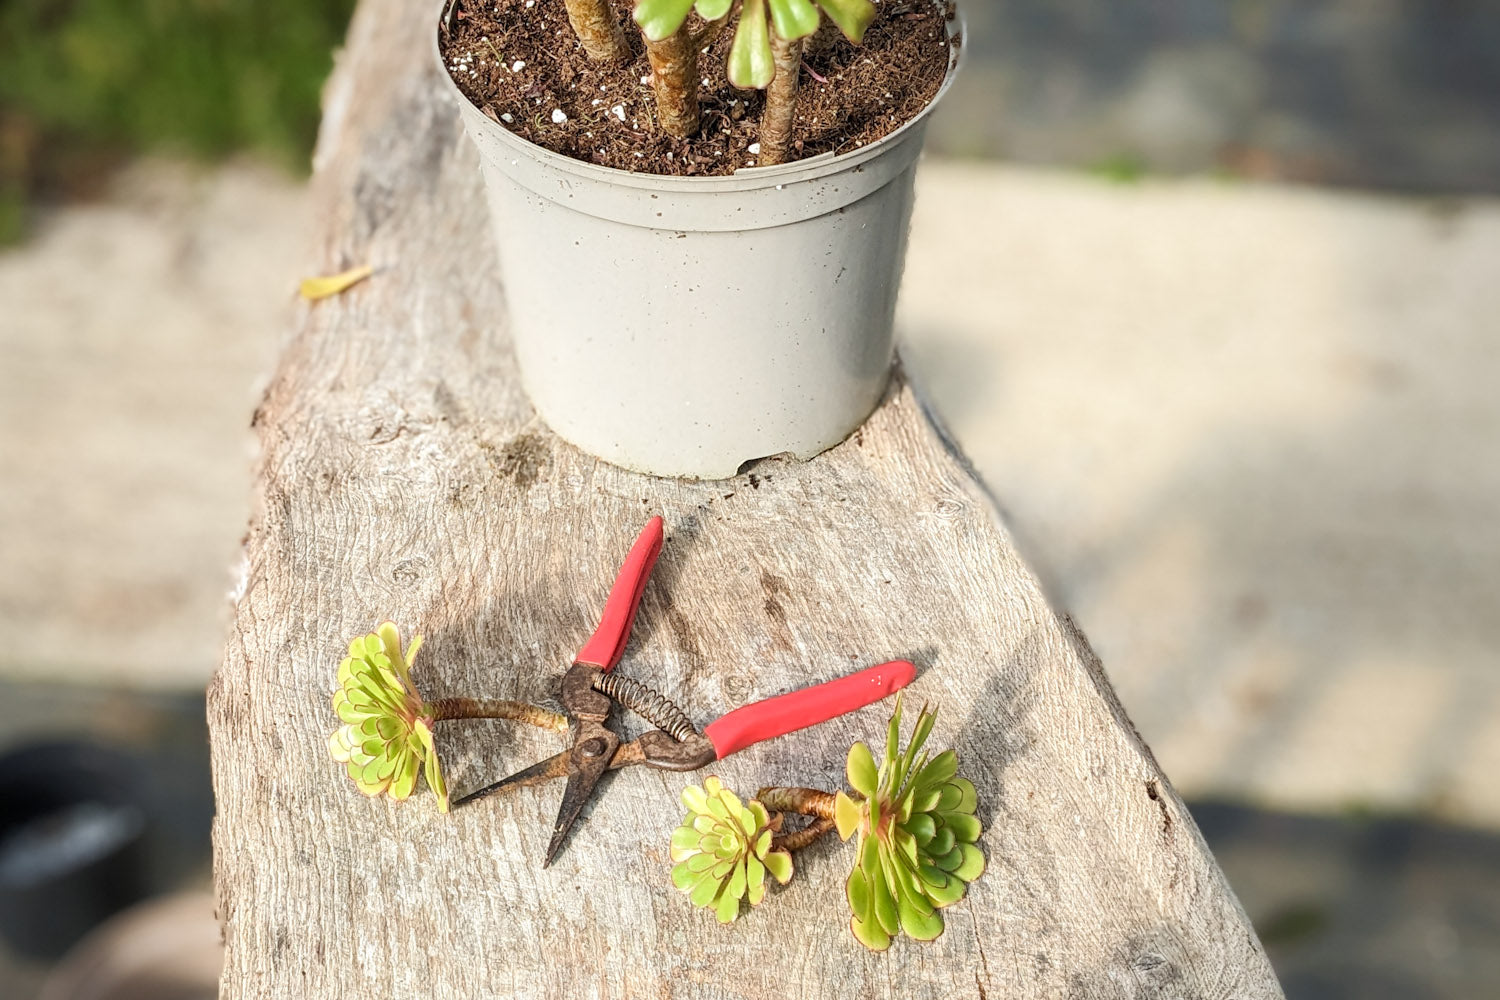
Look for a nice healthy rosette with a stem of roughly 10cm; longer or shorter is fine too. Take a sharp pair of garden snips and make a clean cut 10cm down from the rosette. This can be either an older stem or a softer, greener stem, but at this time of year, it doesn’t matter, as both will take root very quickly. Allow the cutting to dry out, but place it in a cool,bright,frost-free area with airflow. Do not leave it in direct sunlight, as this will add unwanted stress to the cutting.
Step 2
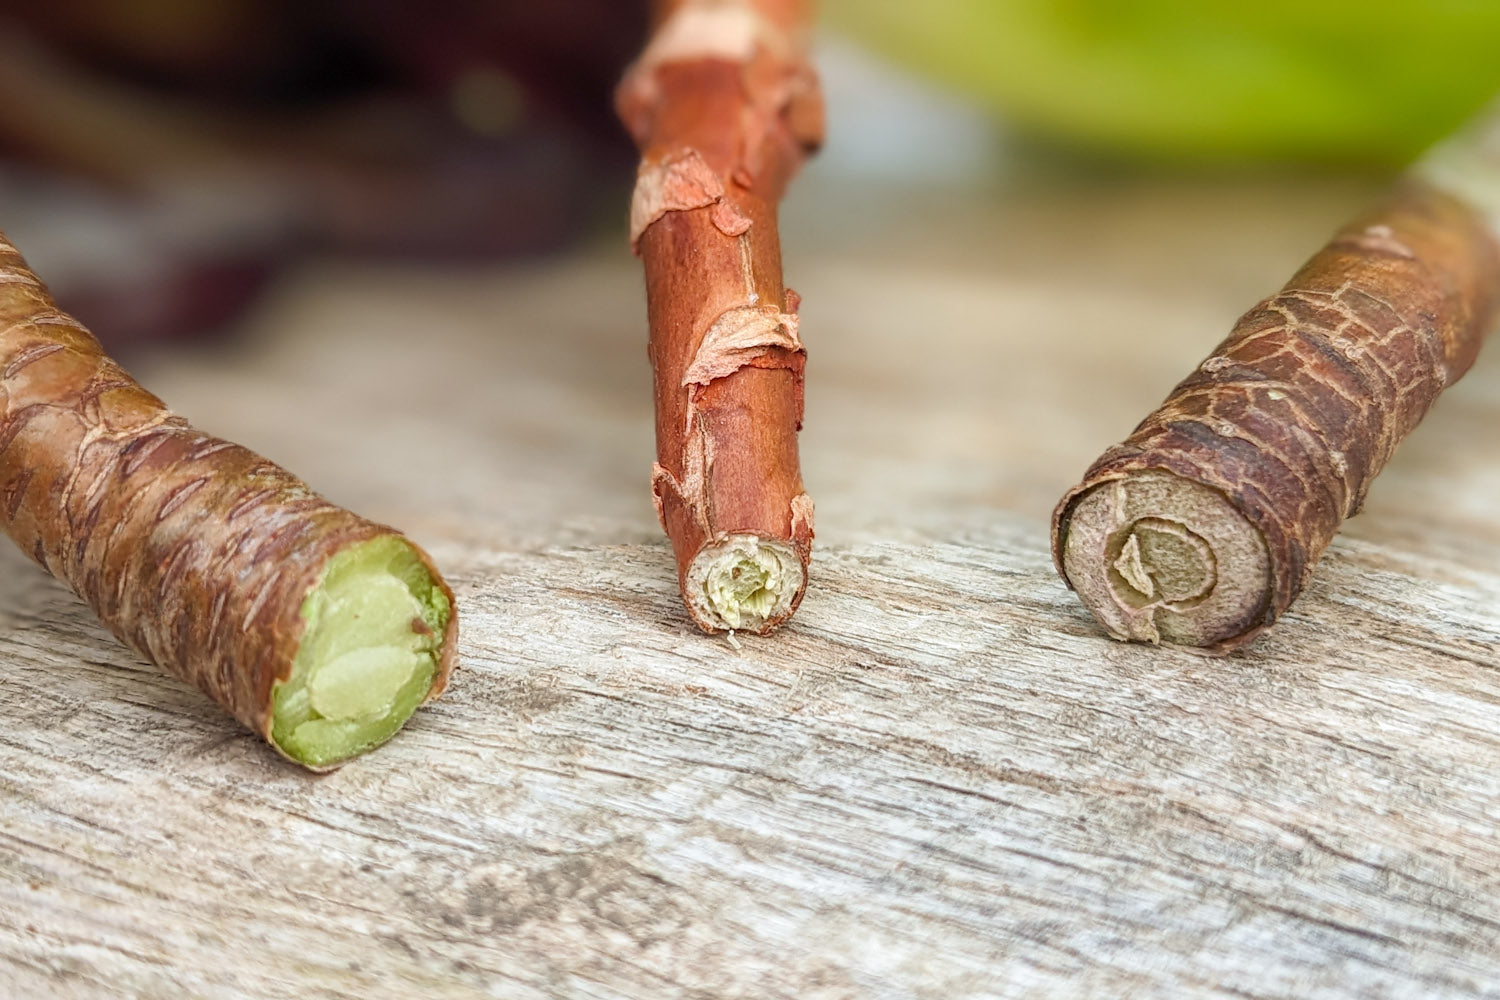
After 5-10 days, the cutting would have calloused over where it had been cut. This process stops unwanted bacteria from getting into the open wound when planted. It also stops rot from running up the stem. You can dip the cutting in rooting hormone, which speeds up the rooting process.
Step 3
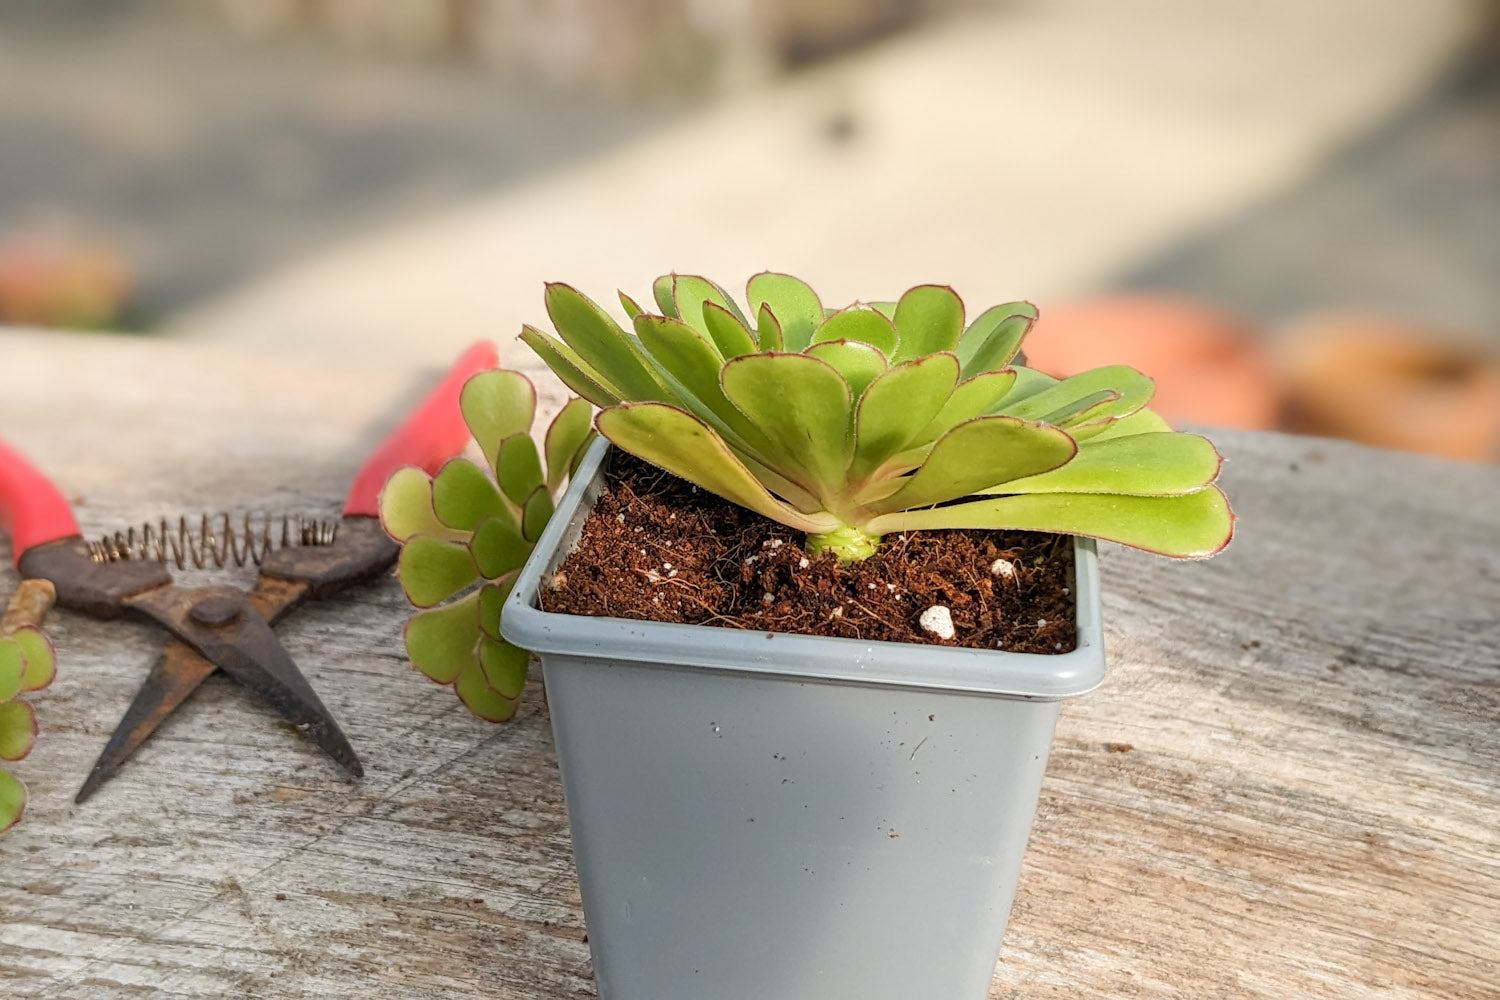
Now fill the pot with a peat-free compost mixed with 40% horticultural sand or perlite. Poke a hole and place the cutting into a pot no bigger than 7cm. The smaller the pot, the better, as it helps the airflow around the stem to stimulate root growth, oxygenate the roots, and help them develop. Bury the cutting ¾ of the way into the compost, leaving a gap between the bottom layer of leaves and the compost. This helps the air get below the leaves.
Step 4
Now place the cutting into a warm position with plenty of airflow, but out of direct sunshine. Keep the soil damp, not wet, and after 6 weeks, you will have yourself a brand new plant ready to be potted into a larger pot. It’s important to note that Aeoniums want to grow, and if you give them room to spread their roots so they can take in nutrients and water during the growing season, you will see amazing results.
9. Upsizing your Rooted Cuttings
If you have smaller cuttings, we find the quickest way to get them to a larger size is to gradually increase the pot size. For example, if your cutting has rooted to the sides of a 7cm pot, its next pot can be a 1-litre pot. Use our “times by 3” potting-on method; Aeoniums love it.
Once the roots of the Aeonium are touching the sides of the pot, go from a 1-litre to a 3-litre pot. Once rooted in a 3-litre pot, you can “times by 3” again and jump up to a 9 or 10-litre pot. An Aeonium should then reach full maturity in a 10-litre pot, but some varieties can continue to be upsized into a 20-litre pot if required.
10. Pests
With warmer weather comes the emergence of pests. Generally, when growing Aeoniums outside during the spring and summer, there are natural predators that will prey on these pests. Insects such as wasps and ladybirds will eat aphids, while birds will pick out mealybugs. Additionally, heavy rainfall can wash away aphids.
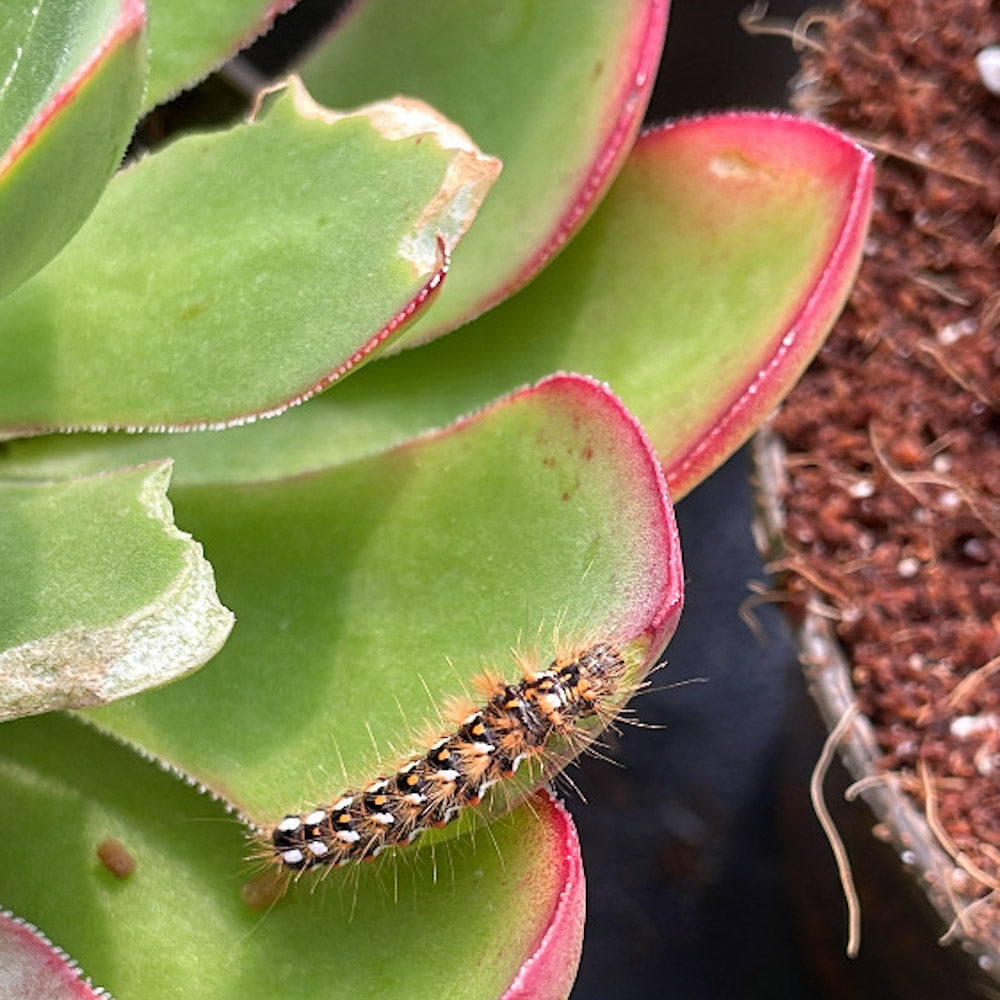
During spring, the damage caused by vine weevils is primarily due to adult vine weevils. These elusive, beetle-like creatures emerge under the cover of darkness to nibble on the edges of leaves. We discovered that by venturing out at night, we could easily pluck them off the plants.
Typically, we find one vine weevil per plant, and each adult can lay up to 500 eggs. Therefore, it’s highly beneficial to grab your torch and explore your garden to prevent further infestation.
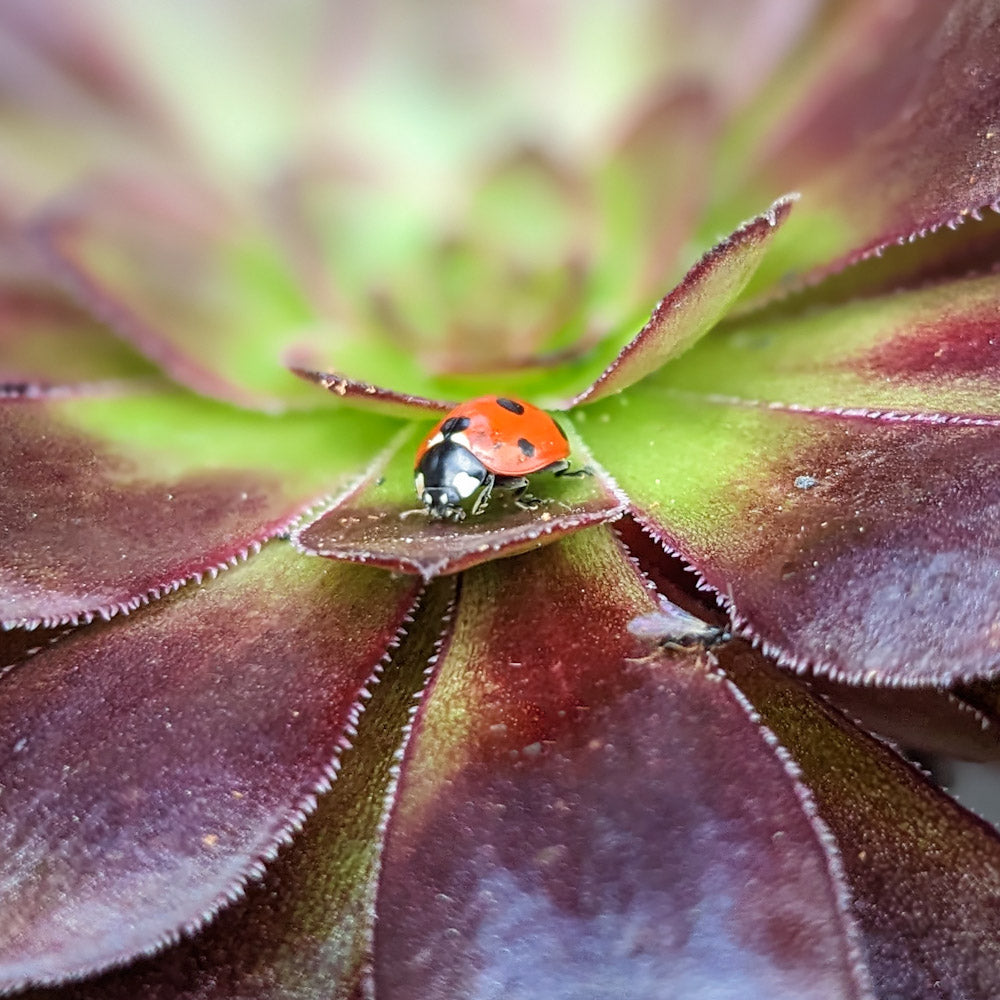
Slugs and snails may nibble on and taste Aeoniums when introduced into gardens, but over time, their preference for Aeoniums tends to diminish. If you have a large infestation of slugs and snails, there are nematodes that can reduce their numbers. Alternatively, you can head outside on a damp evening and remove them by hand. However, it’s important not to simply throw them over your wall. It’s best to take them at least 2 miles away, as within their lifetimes, they can make their way back to your garden.
We recommend that when it comes to pests, there’s no greater or safer way to remove them without the need for chemicals than by hand. Get yourself a fine pair of tweezers, and with determination, you will single-handedly remove these unwanted creatures.
In addition to commercial soapy sprays, there are numerous homemade remedies that can effectively deter pests. While many of these recipes are readily available online, we encourage you to share your own in the comments section to help others combat garden pests more effectively.
11. Feeding
Proper watering and feeding are essential for healthy growth. However, if you desire more vigorous growth, Aeoniums respond well to feeding.
A simple and effective feed for growing Aeoniums is chicken manure pellets scattered over the soil surface. Aeoniums readily absorb this natural feed. Alternatively, you can use liquid seaweed feed or slow-release fertilizers, but it’s advisable only to use a slow-release fertilizer once the Aeonium has established strong root growth.
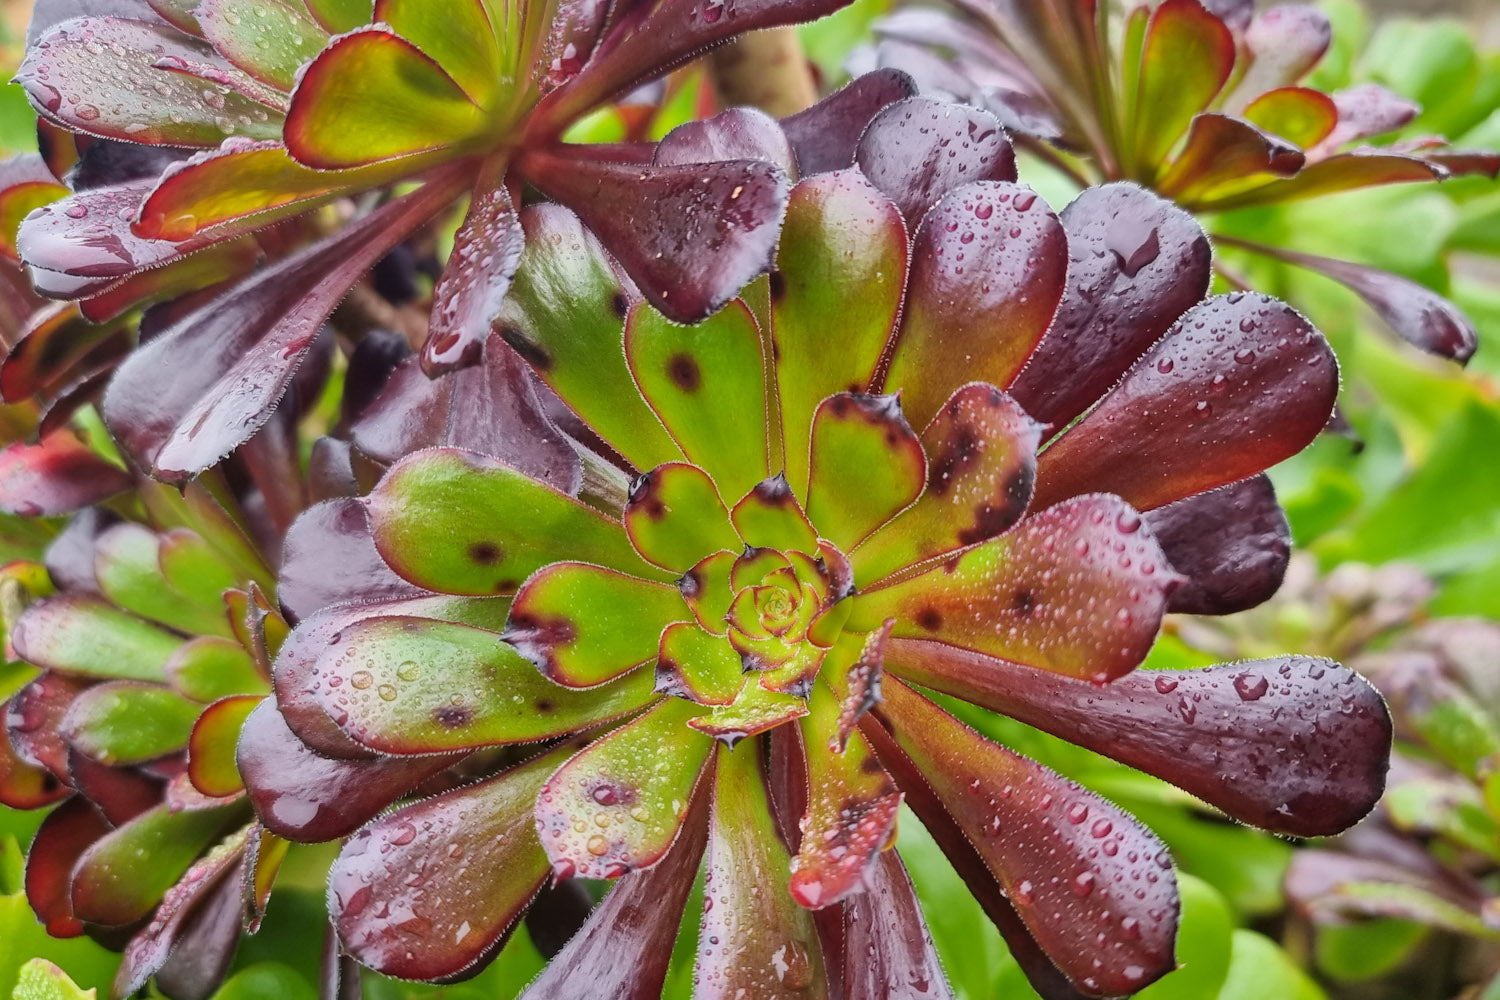
High humidity spotting
12. Watering
In spring, the key to watering is allowing the soil to completely dry out between waterings, which is influenced by the weather if grown outside. If rain is forecast for the week, there’s no need to worry about watering Aeoniums grown outdoors as they will take what they need naturally. However, during a heatwave, it’s recommended to move your Aeonium to a shady spot, this allows you to continue watering to encourage growth. If it remains in full sun, refrain from watering to avoid confusing the plant, which could lead to stem rot, especially for certain varieties more prone to this issue.
13. Creating Displays
Aeoniums are among the best plants to create jaw-dropping displays. Not only are they drought-tolerant, low-maintenance, and visually stunning, but they also come in a multitude of colours, sizes, and forms, making them an easy all-around plant to work with.
Planting up a pot full of Aeoniums can be so rewarding. It’s important to choose Aeoniums with these three key features in mind: balance, colour, and form.
1
/
of
4
Here, we have used these Aeoniums to create a balanced planting display.
Simply create a dramatic focal point with a single plant that deserves its own spotlight.
Aeoniums can even be planted out in the garden during the summer months and lifted again in the winter. There are no limits to what you can achieve with good quality plants and a bit of imagination.
14. Flowering
Aeoniums boast exquisite rosette formations and produce stunning flower stems adorned with thousands of delicate blossoms, each brimming with delightful nectar. While yellow is the prevalent hue for Aeonium flowers, variations in colour such as white, pink, and deep red are also observed. Their flowering cycle initiates during winter but unfolds with the warming weather and the presence of abundant pollinators. Each flower lasts just a few days, but the plant slowly staggers each flower’s opening, giving you a flowering display that can last well over a month.
Some Aeoniums even flower later into the summer. However, don’t expect flowers every season, as some varieties like Aeonium 'Schwarzkopf' can take up to 12 years to produce their first flower spike, while other varieties may take only 3 years
1
/
of
3
15. Preparing for Summer
As we head into late spring, the chances of frosts become less and less likely, so now is the time to position your Aeoniums in places where you can admire their beauty the most. Outdoor dining areas such as patios and balconies are ideal settings for these eye-catching plants, creating an atmosphere and a talking point among friends and visitors during warm summer evenings.
Try incorporating them into gardens by mixing them into borders with other plants; they look incredibly beautiful in and around soft grasses like Stipa tenuissima (Nassella tenuissima).
In conclusion, spring is a crucial time for Aeoniums, as they transition from slow winter growth to active growth. This season offers the perfect opportunity to repot, propagate, and care for these stunning plants. By understanding their needs and providing the right conditions, you can enjoy healthy, vibrant Aeoniums throughout the year. Whether you’re a seasoned gardener or a beginner, spring is the time to take action and ensure your Aeoniums thrive.

If you have any other questions on care advice, please drop us an email (info@surrealsucculents.co.uk) and we will be happy to answer this for you.
Leave a comment if you found this guide helpful (we cannot reply to these).
For alternate care advice, please find our other care guides in the Plant Care & Advice section.
We are adding new advice all of the time, so consider subscribing to our mailing list to make sure you do not miss out on any crucial information on how to care for your succulents. This can be done at the bottom of the page.


